Welcome to our comprehensive guide on winter bee hive wraps. As temperatures drop during the colder months, maintaining hive warmth becomes critical for bee colony health in winter. Effective insulation is key to protecting bees from cold stress and ensuring they have the energy to maintain colony activities. In this guide, you’ll discover essential strategies for choosing the right insulation materials, proper hive wrap application techniques, and tips for monitoring hive conditions throughout winter. Join us as we explore how to safeguard your bees and optimize their environment for a thriving hive year-round.

Table of Contents
1. Understanding the Need for Winter Bee Hive Wraps
Importance of Maintaining Hive Warmth During Winter
- Honey bees rely on external heat sources and cluster together to generate warmth.
- Proper hive insulation materials reduce energy consumption and prevents colony starvation.
- Cold temperatures can lead to decreased bee activity and increased susceptibility to diseases.
Additional details:
- Bees maintain an optimal temperature inside the hive by forming a cluster around the queen and brood, generating heat through muscle contractions.
- Insulating the hive helps retain this heat, ensuring bees can conserve energy and survive without depleting their stored honey reserves.
- Insufficient insulation can lead to higher mortality rates, as bees may become too cold to move or feed, especially in severe winter conditions.

Impact of Cold Temperatures on Bee Colony Health in Winter
- Cold stress can cause lethargy and increased susceptibility to diseases.
- Insufficient insulation can lead to higher mortality rates among bees.
- Maintaining hive warmth and stable hive temperatures supports brood rearing and colony health.
Additional details:
- Bees are cold-blooded insects, meaning they rely on external temperatures to regulate their body temperature. Cold spells can cause them to become lethargic, reducing their activity and impacting colony functions such as brood rearing and foraging.
- Proper insulation helps maintain stable hive temperatures, which are critical for brood development and overall bee colony health in winter. Consistently low temperatures can weaken bees’ immune systems, making them more vulnerable to diseases and pests that thrive in cold environments.
- Effective insulation ensures that bees can efficiently regulate their internal temperature, promoting colony strength and productivity during winter months.
2. Choosing the Right Hive Insulation Materials
Types of Hive Wraps: Insulating Foam, Tar Paper, and Breathable Fabrics
- Insulating foam provides excellent thermal protection but requires careful ventilation.
- Tar paper offers durability and weather resistance, ideal for harsh climates.
- Breathable fabrics allow airflow while providing insulation, suitable for milder climates.
Additional details:
- Insulating Foam: Known for its excellent thermal insulation properties, insulating foam wraps create a barrier against cold temperatures. However, they require meticulous ventilation management to prevent moisture buildup inside the hive, which can lead to mold and respiratory issues for bees.
- Tar Paper: Durable and weather-resistant, tar paper wraps are ideal for regions with harsh winters. They provide a protective layer against wind and precipitation, effectively retaining heat inside the hive while ensuring bees remain dry and insulated.
- Breathable Fabrics: Designed to allow airflow while providing insulation, breathable fabric wraps are suitable for climates where temperature regulation and moisture control are crucial. They help maintain optimal hive conditions by allowing excess heat and moisture to escape, reducing the risk of condensation and mold growth.
Considerations Based on Local Climate and Hive Conditions
- Choose materials based on temperature fluctuations and moisture levels in your area.
- Assess hive location and size to determine the most suitable insulation material.
- Consider the longevity and maintenance requirements of each type of hive wrap.
Additional details:
- Local Climate Considerations: Understanding your region’s climate is crucial when selecting hive wrap materials. Areas with extreme temperature variations may benefit from more robust insulation like insulating foam or tar paper, whereas regions with milder winters may find breathable fabrics sufficient.
- Hive Location and Size: Larger hives or those situated in exposed locations may require thicker or more durable wraps to maintain stable temperatures. Consider the hive’s exposure to wind, sunlight, and precipitation when choosing the appropriate insulation material.
- Longevity and Maintenance: Evaluate the lifespan and maintenance needs of each type of hive wrap. While some materials may offer superior insulation, they may require more frequent inspections and adjustments to ensure optimal hive conditions throughout the winter season.
3. Preparing Your Hive
The Beehive Chronicles: 6 Types of Hives for Bee Keeping and Advanced Apiculture Practices
Cleaning the Hive Exterior: Removing Debris and Wax Buildup
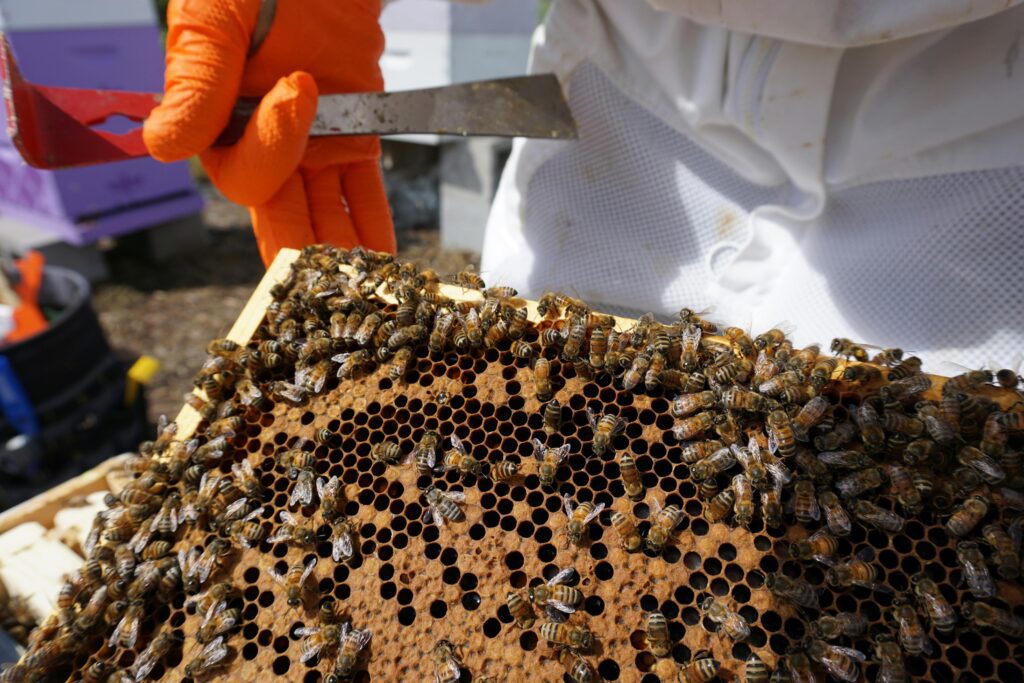
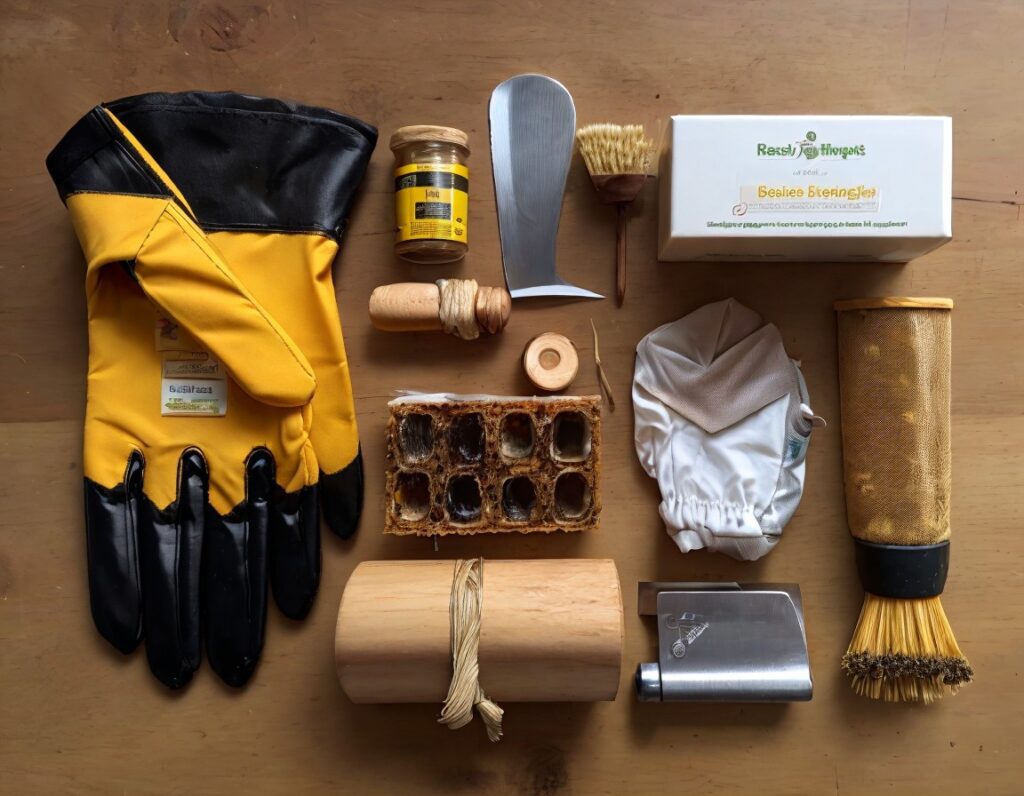
- Use a hive tool to scrape off dirt, debris, and old wax from hive surfaces.
- Clean surfaces ensure a smooth application and reduce pest hiding spots.
- Hive hygiene minimizes disease risks and improves overall colony health.
Additional details:
- Surface Preparation: Before applying hive wraps, thoroughly clean the exterior surfaces of the hive to remove accumulated debris, dirt, and old wax. This process not only improves the adhesion of the wrap but also reduces potential pest habitats and minimizes disease transmission among bees.
- Hygiene Importance: Maintaining hive hygiene is critical for colony health, especially during winter when bees are more susceptible to stress and disease. Clean hive surfaces help create a clean and sanitary environment that supports bees’ immune systems and overall well-being throughout the colder months.
Inspecting for Cracks, Gaps, and Damage that Affects Insulation
- Check for cracks and gaps that could compromise insulation effectiveness.
- Seal any openings with appropriate materials to prevent heat loss.
- Ensure hive entrances and ventilation holes are clear and functional.
Additional details:
- Inspection Protocols: Conduct a thorough inspection of the hive structure for any cracks, gaps, or physical damage that could compromise the effectiveness of the hive wrap. Pay particular attention to joints, corners, and areas around entrances where bees may enter and exit the hive.
- Sealing Methods: Use suitable materials such as caulking or sealant to seal cracks and gaps, ensuring that heat loss is minimized during winter. Properly sealed hive structures help maintain a stable internal temperature, reducing the energy expended by bees to regulate their body heat and conserve resources.
Ensuring Adequate Ventilation to Prevent Moisture Buildup
- Proper ventilation regulates humidity and prevents condensation inside the hive.
- Adjust ventilation openings to maintain optimal airflow without compromising insulation.
- Monitor moisture levels to prevent mold growth and respiratory issues in bees.
Additional details:
- Ventilation Strategies: Establish effective ventilation systems within the hive to maintain proper airflow and regulate humidity levels. Adequate ventilation prevents the accumulation of excess moisture, which can lead to condensation and subsequent issues such as mold growth and respiratory problems for bees.
- Airflow Management: Adjust hive entrances and ventilation openings as needed to balance airflow without compromising insulation effectiveness. This proactive approach ensures that bees have a well-ventilated environment that promotes their health and well-being throughout the winter season.
4. Hive Wrap Application
Step-by-Step Guide to Hive Wrap Application
- Measure and cut wrap material to fit hive dimensions, ensuring complete coverage.
- Start wrapping from the bottom and overlap edges to prevent drafts.
- Secure wrap snugly but not tightly to allow airflow around hive entrances.
Additional details:
- Measurement and Cutting: Begin by measuring the hive dimensions and cutting the wrap material accordingly to ensure comprehensive coverage. Start wrapping from the bottom of the hive and work your way up, overlapping the edges slightly to create a seamless barrier against cold air infiltration.
- Securing Methods: Use hive straps, tape, or other securement methods to fasten the wrap snugly around the hive. Avoid wrapping too tightly, as this can restrict airflow and potentially lead to moisture buildup inside the hive. Maintain a balance between insulation and ventilation to create a conducive environment for bees throughout the winter months.
Tips for Achieving a Snug Fit Without Blocking Hive Entrances
- Cut holes or slits in the wrap to accommodate hive entrances and ventilation.
- Avoid wrapping too tightly, which can restrict airflow and cause moisture buildup.
- Regularly check and adjust the wrap throughout winter to maintain effectiveness.
Additional details:
- Ventilation Considerations: Ensure that hive entrances and ventilation holes remain unobstructed by cutting appropriate holes or slits in the wrap. This allows bees to freely enter and exit the hive while maintaining a well-ventilated environment.
- Monitoring and Adjustment: Periodically inspect the hive wrap throughout the winter season to ensure it remains securely in place and effectively insulates the hive. Make necessary adjustments to accommodate changes in hive conditions or weather patterns, ensuring optimal hive health and productivity.
5. Monitoring Bee Colony Health in Winter
Importance of Regular Inspections During Winter Months
- Schedule inspections to monitor hive temperature, humidity, and bee activity.
- Use tools like infrared thermometers to assess internal hive conditions.
- Early detection of issues like moisture buildup helps prevent hive problems.
Additional details:
- Inspection Frequency: Establish a regular schedule for monitoring hive conditions throughout the winter months, focusing on temperature fluctuations, humidity levels, and bee activity. Scheduled inspections enable early detection of potential issues, allowing beekeepers to take timely corrective actions and ensure the well-being of the colony.
- Tools and Equipment: Utilize specialized tools such as infrared thermometers to accurately measure internal hive temperatures without disturbing bees. These tools provide valuable insights into hive conditions, enabling proactive management strategies to optimize hive health and performance during winter.

Managing Moisture Levels and Preventing Condensation
- Monitor hive for signs of condensation or excess moisture.
- Use moisture-absorbing materials like cedar shavings if necessary.
- Adjust ventilation settings to maintain optimal humidity levels.
Additional details:
- Moisture Management: Regularly inspect the hive for signs of condensation or excess moisture, which can occur due to inadequate ventilation or environmental conditions. Implement moisture-absorbing materials such as cedar shavings or absorbent pads inside the hive to mitigate moisture buildup and maintain optimal humidity levels for bee health.
- Ventilation Adjustment: Fine-tune ventilation settings as needed to balance airflow and humidity levels within the hive. Proper ventilation reduces the risk of condensation and mold growth, promoting a dry and healthy environment that supports bee colony resilience throughout the winter season.
6. Removing the Wrap in Spring
Determining the Optimal Time to Remove Hive Wraps
- Wait until temperatures consistently stay above freezing before removing wraps.
- Monitor bee activity to ensure they are actively foraging before removal.
- Removing wraps allows bees to benefit from increased airflow and sunlight.
Additional details:
- Spring Transition: Assess local weather conditions and monitor bee activity closely to determine the optimal time for removing hive wraps in spring. Wait until temperatures stabilize above freezing and bees show increased activity, indicating the onset of foraging and spring growth.
- Environmental Factors: Removing wraps enables bees to access fresh air and sunlight, supporting their transition from winter dormancy to active foraging and colony expansion. This strategic timing promotes bee health and productivity, setting the stage for successful hive development and honey production during the spring season.
Steps for Spring Preparation: Checking Hive Health and Cleaning Exterior Surfaces
- Inspect hive for damage and pest activity after removing wraps.
- Clean hive exterior to remove debris and ensure a clean environment for bees.
- Assess colony health to gauge readiness for spring growth and activities.
Additional details:
- Post-Wrap Removal Inspection: Conduct a thorough inspection of the hive structure to assess for any damage, pest infestations, or mold growth that may have occurred during winter. Address any issues promptly to safeguard bee colony health and ensure optimal hive conditions for upcoming seasonal activities.
- Exterior Maintenance: Clean hive exterior surfaces to remove accumulated debris, dirt, and residues from hive wraps. This maintenance step promotes hive hygiene and creates a clean environment that supports bee health and vitality as they prepare for increased foraging and brood rearing activities in spring.
Additional Resources
8 Common Beehive Pests and Effective Prevention Tips for Beekeepers
Beginner Beekeeping Kit – 6 Essential Tips Beekeepers Should Know Before Buying
Winter Honey Bees Show Resistance to a Common Insecticide
Conclusion
Winter bee hive wraps are essential for maintaining hive warmth and protecting bee colonies during colder seasons. By choosing the right materials and applying them correctly, beekeepers can ensure optimal insulation, which is crucial for bee health and productivity. Regular monitoring of hive conditions throughout winter ensures that any adjustments needed to maintain warmth and minimize stress on the colony can be made promptly. With these strategies in place, beekeepers can effectively support their bees through winter and set the stage for a successful and thriving hive in the seasons ahead.


